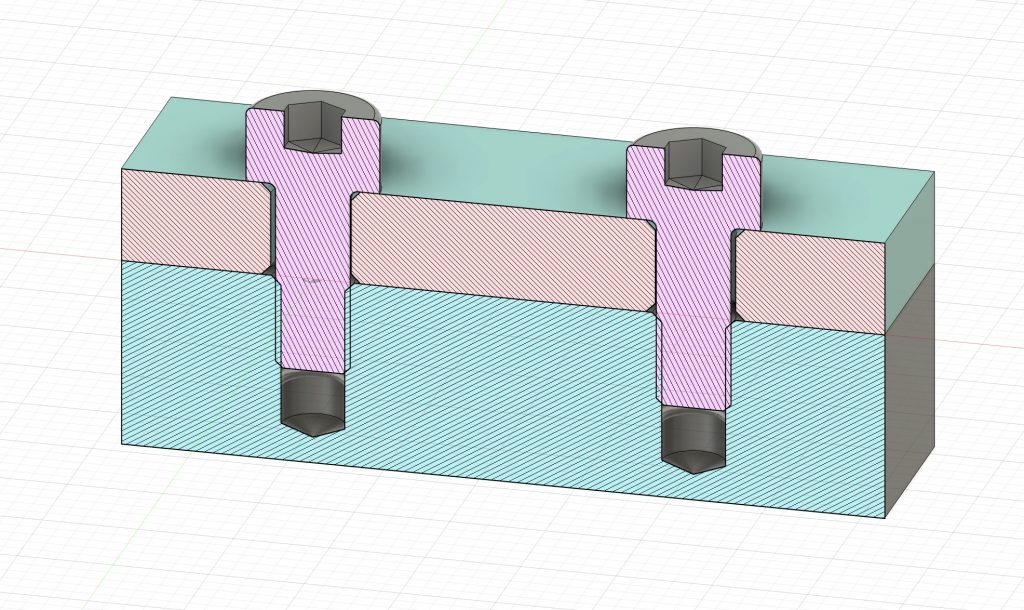
Standardising hole sizes across engineering designs offers several important advantages:
- Reduced tooling costs – Manufacturing facilities can maintain a smaller inventory of drill bits and cutting tools
- Improved manufacturing efficiency – Machine operators spend less time changing tools and can develop consistent processes
- Enhanced interchangeability – Components from different manufacturers or production runs can be used interchangeably when hole sizes are standardized
- Lower risk of errors – Using standard hole sizes reduces the chance of assembly mistakes or incorrect tooling selection
Imperial Fastener Hole Size
(No Doweling Feature)
| Fastener | Pin Diameter | Hole Size | Hole Tolerance | Positional Tolerance |
|---|---|---|---|---|
| #6 | 3.51 | 3.85 | +/-0.05 | 0.2 |
| #8 | 4.17 | 4.50 | ||
| #10 | 4.83 | 5.15 | ||
| 1/4 | 6.35 | 6.65 | ||
| 5/16 | 7.94 | 8.25 | ||
| 3/8 | 9.53 | 9.85 | ||
| 1/2 | 12.70 | 13.00 |
Imperial Fastener Hole Size
(with Doweling Feature)
| Fastener | Pin Diameter | Hole Size | Hole Tolerance | Positional Tolerance |
|---|---|---|---|---|
| #6 | 3.51 | 4.00 | +/-0.05 | 0.2 |
| #8 | 4.17 | 4.65 | ||
| #10 | 4.83 | 5.30 | ||
| 1/4 | 6.35 | 6.80 | ||
| 5/16 | 7.94 | 8.40 | ||
| 3/8 | 9.53 | 10.00 | ||
| 1/2 | 12.70 | 13.15 |
ELEVATE Your knowledge
Check out the links to see:
- How are these tolerances are calculated?
A breakdown of tolerance stack ups calculating the hole size and geometric positional tolerance required. - Example drawings
See how these numbers should be displayed on manufacturing drawings

Leave a Reply
You must be logged in to post a comment.